Download our STL file and follow these instructions to make ABIT’s 3D Printed Hoop Frames
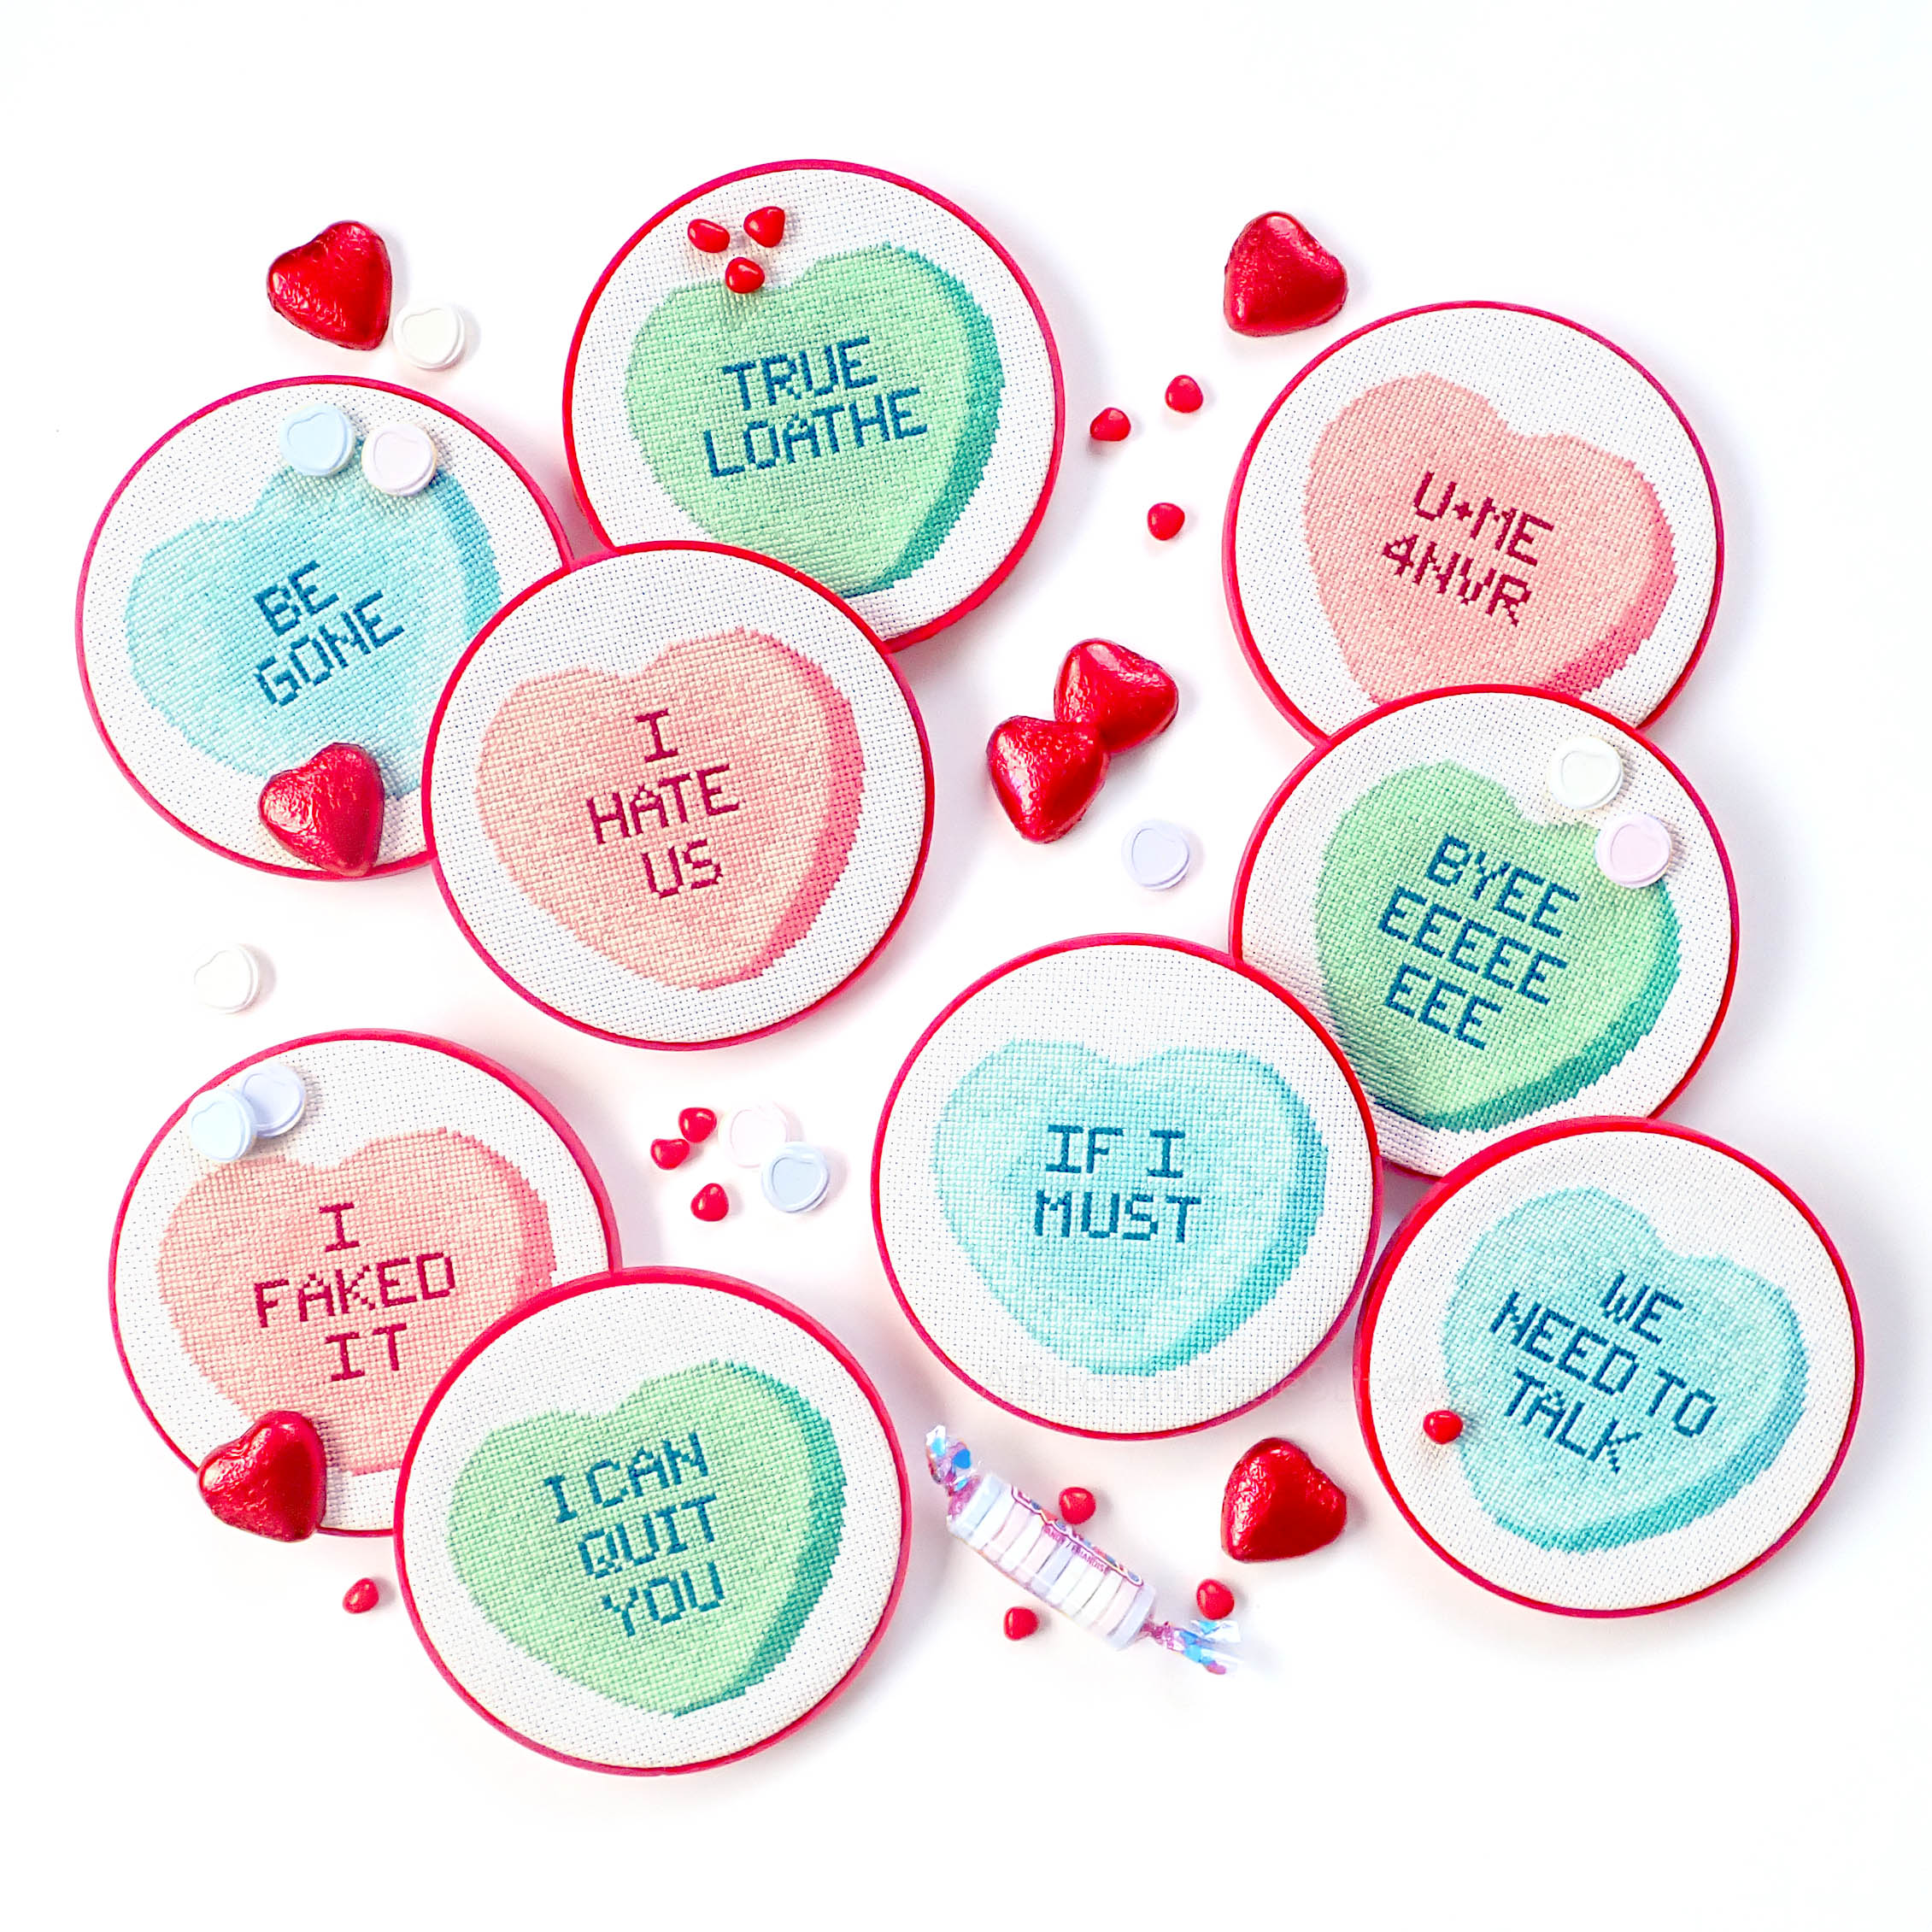
Remember this photo from our ‘My Crummy Valentine Rejected Conversation Hearts’ collection? It turns out you all really love Roy’s simple but gorgeous 3D Printed Hoop Frames. So here we are to give you what you want – what you really, really want!
Heaps of people are asking to purchase the file, but Roy’s still perfecting it so that doesn’t feel right. So, for anyone interested in the prototype, we’re making the file available for personal use. (i.e. Not for resale.)
This 5-inch circular Hoop Frame works just like an embroidery hoop, but its design slips together snugly without the need for the tightening screw.
The frame hoop consists of two solid rings. The small ring is 5” (127 mm) in diameter from outside edge to outside edge. The large ring is about 5 1/4” (134 mm) in diameter from outside edge to outside edge. Each ring wall is approximately 1/8” (2.5mm) thick and approximately 3/8” (1cm) tall. Note: The original design is in metric, so the imperial measurements are rough conversions.
When you nest one inside the other, there is approximately 3/16 of an inch (1 mm) gap all around. This is enough space to accommodate the thickness of the stitch cloth and any pleats made by folding the cloth over the small ring.
To 3D print a set of Hoop Frames, the following links will let you download two separate STL files, one for each ring. We are not sharing HVS files because those need to be customized to the kind of plastic you are using (PLA, ABS, etc.) and the specific requirements of your 3D printer.
Large Ring STL file (Download from Dropbox–no signup necessary)
Small Ring STL file (Download from Dropbox–no signup necessary)
We are by no means experts, so be sure to consult an experienced person if you yourself have no experience with these devices. If you don’t have a printer of your own, there are services that will convert and print STL files for a fee.
ABIT prints our Hoop Frames on a Cubicon Style machine. Then we convert the STL files into HVS and slice them using Cubicon’s slicing software. We recommend you use the slicing software specific to your machine, if available. Though, you can find free slicing software for download or to use directly online. One such is Kirimoto, but you’ll need to test its compatibility with your printer.
For sturdiness, our rings are printed with a solid fill. A skirt is used rather than a raft. The rings are printed one at a time. This avoids any inadvertent joins or overlaps that could occur due to proximity if they were printed together. Again, not experts here.
Finished frames make mounting your work as easy as prepping an embroidery hoop with a fresh piece of aida.
Assemble the 3D Framing Hoops
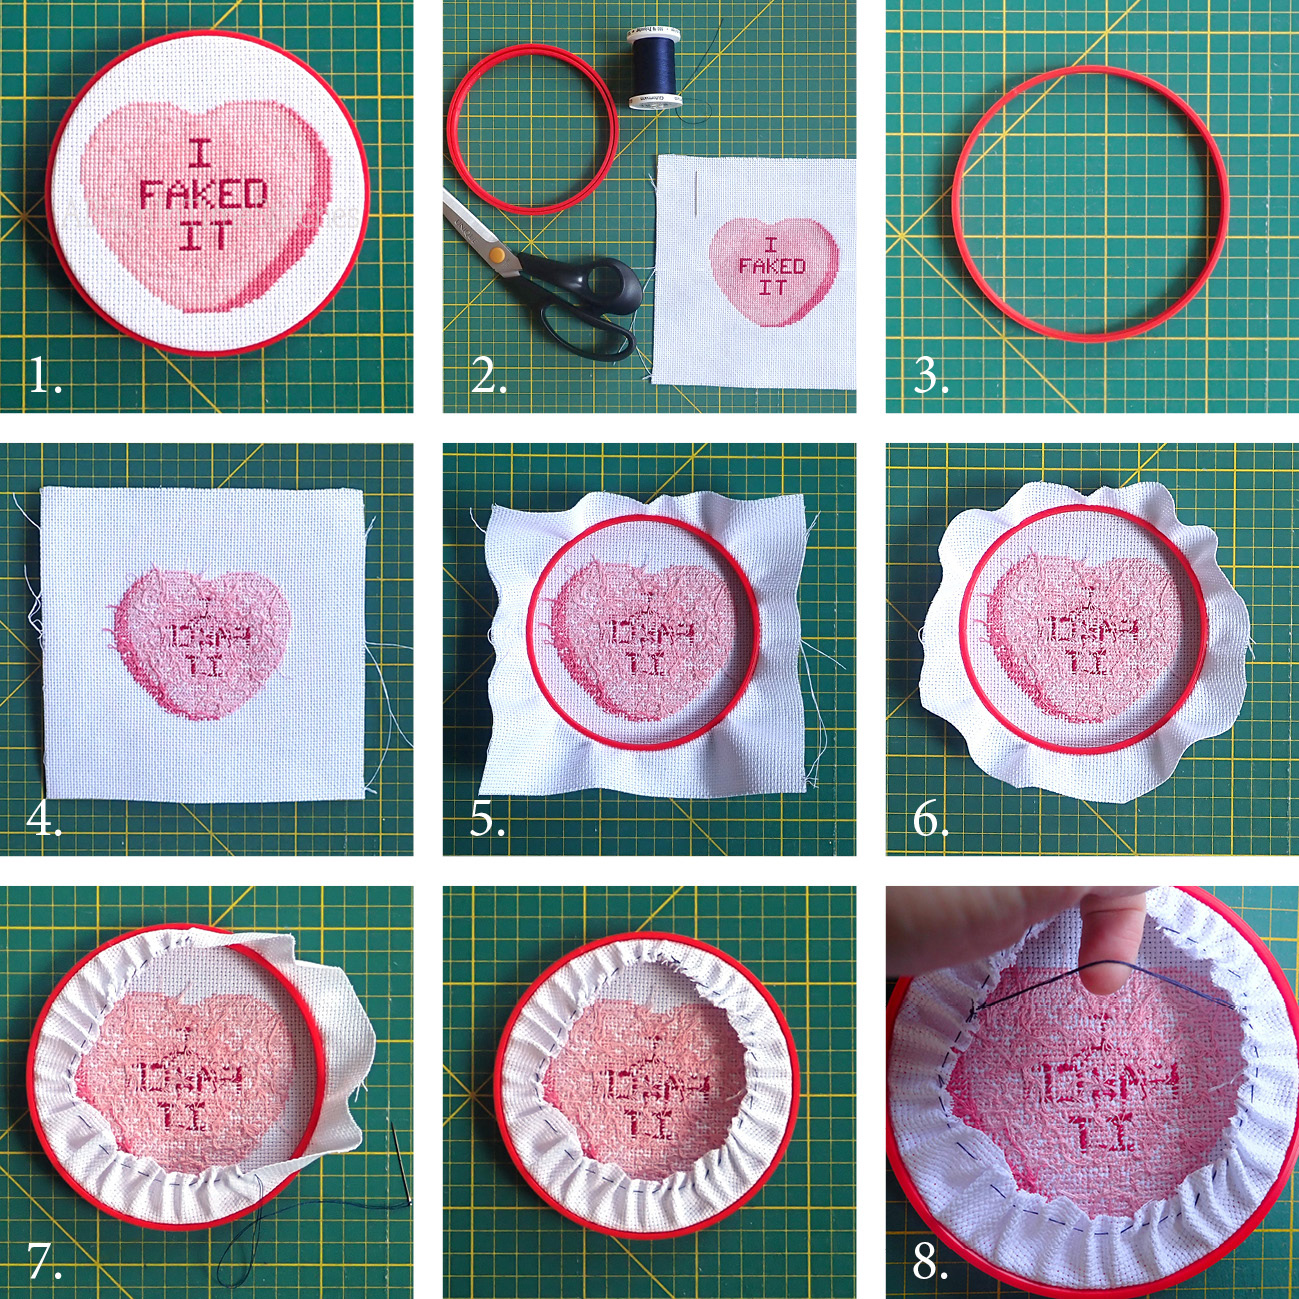
- This is the finished mounting.
- You will need a needle and thread, scissors, the finished work, and the small and large hoops.
- Place the large hoop on your table surface.
- Lay the finished stitch overtop of the large hoop, backside facing you.
- Place the small hoop on top of the work and push down into the large hoop slightly to see if the stitched area is positioned where you want it within the circle. Adjust the work left and right, up and down, testing with a slight push down each time you move the piece on the frame. When the work is where you want it, push the inside hoop down completely and give all the fabric edges a gentle tug to get rid of any buckles or stretches.
- To secure the cloth, trim back the fabric so it is between 1 and 2 inches all the way around.
- Use a whip stitch or a running stitch all around the edge of the fabric, pulling the material towards the centre of the hoop. Overlap folds of cloth in small, even increments and sew through the layers as you work your way around the entire circle.
- To hang your work on a wall, run a line of thick thread across the gap at the back.
If you find the fit slightly loose, you can wrap a strip of paper around the small ring before you mount your work. The paper layer will fill up some of the gap. The more times you wrap, the smaller the gap between rings.
Et voila! Ready to hang!
We hope you get a lot of use out of our 3D Printed Hoop Frames and can’t wait to see your end results on Instagram. Please be so kind as to tag @a_bitchintime!
We also hope you’ll check out our book ‘A Bitch in Time: 30 Snarcastic Stitches for You to Stab, Volume 1.’ You can find it on Etsy along with the ‘My Crummy Valentine Rejected Conversation Hearts’ pictured above. www.abitstitches.etsy.com
Ready. Set. Stab!
Tara and Roy